How to Create and Deploy Django Web App on Azure
Explaining Django
Web development today has evolved immensely in the past decades, from the perspective of the frameworks, technology stacks, and languages used in creating the app to the hosting and deployment of such app.
There are lot of frameworks out there today used in developing web applications. However, today we will be talking about the Django framework.
Fun fact, I transitioned from plain HTML-CSS-JS, Jekyll, Wordpress, to Django in building this blog site.
In this tutorial we will be creating a simple web app using the Django Framework and deploying the app on Azure using a Linux VM.
According to the official Django Website:
Django is a high-level Python web framework that encourages rapid development and clean, pragmatic design. Built by experienced developers, it takes care of much of the hassle of web development, so you can focus on writing your app without needing to reinvent the wheel. It’s free and open source.
I will be creating 3 different version of this tutorial
- How to Create and Deploy a Django Web App on Azure. (This tutorial)
- How to Containerize and Deploy Django Web App on Azure - Single Host.
- How to Containerize and Deploy Django Web App on Azure - Multiple Host (Demonstrating scalability and High Availability).
Without wasting time lets get to it.
Tools Needed
| # | Components | Link | Necessary |
|---|---|---|---|
| 1 | Azure Account | Free $200 Azure Credit on Sign Up. | Yes |
| 2 | Azure VM | Create VM | Yes |
| 3 | Your Time | Roughly 20 mins | Yes. So you can learn to build web app. |
Please follow this tutorial to create a VM on Azure if you haven't created one already.
Once you are done creating your Azure Account and creating your VM, you are golden to follow through the tutorial.
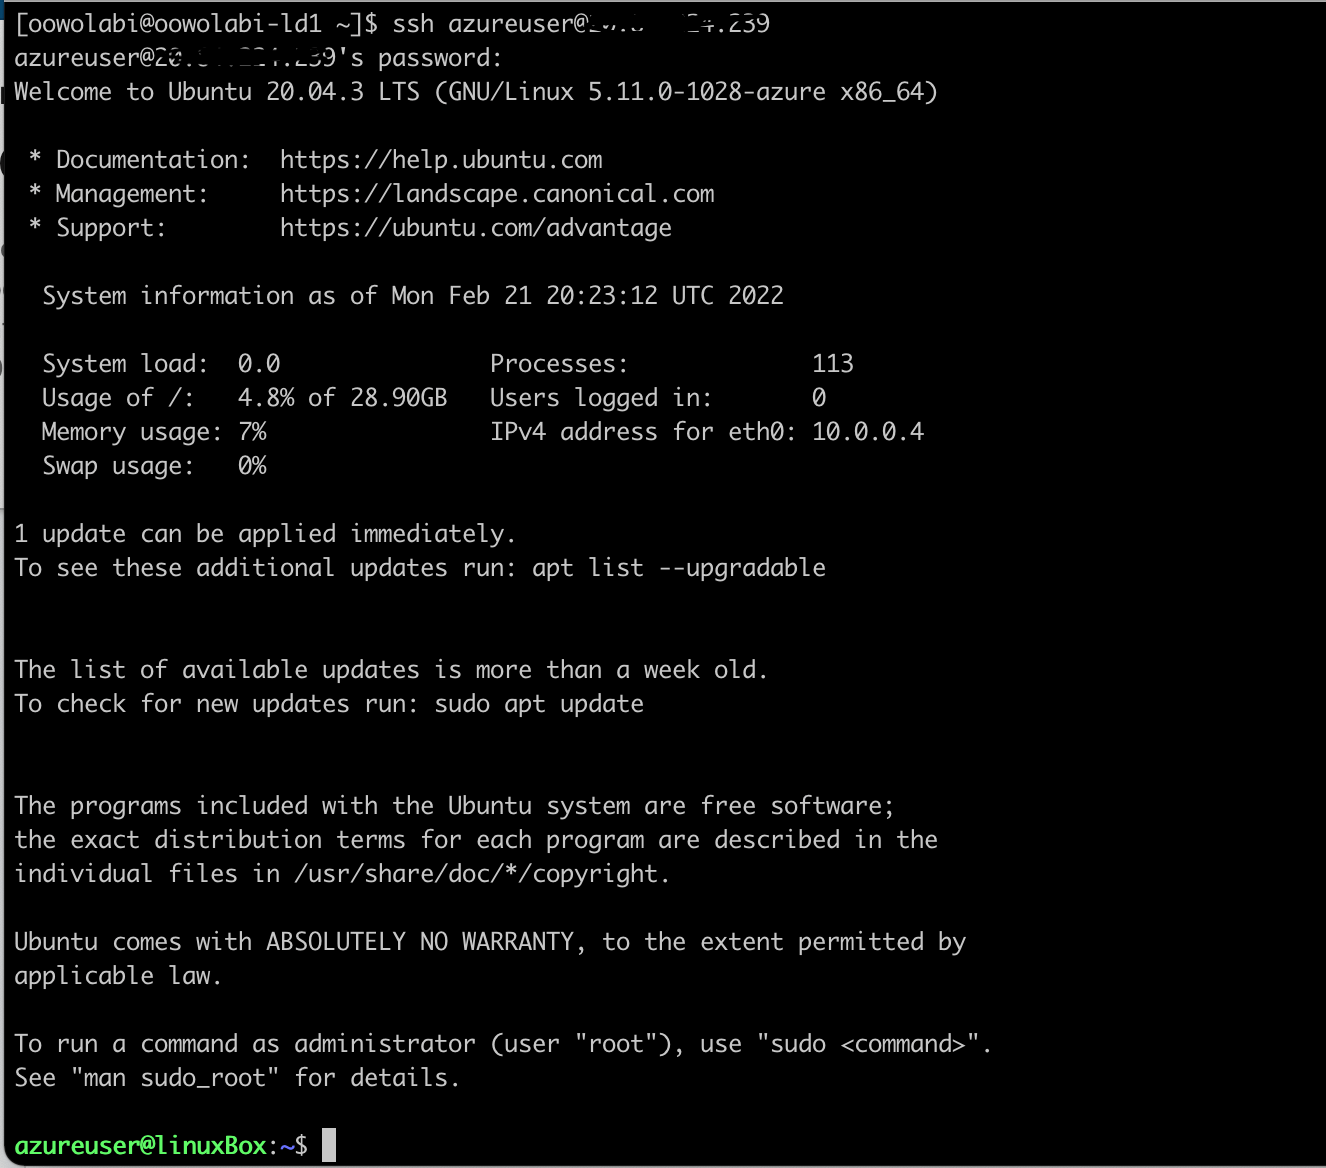
SSH into the VM
Now that we have provisioned and setup our vm. We need to ssh into the vm and start building our Django Web App
SSH
$ ssh username@vmIPreplace
username and vmIP with your username and the vm's IP
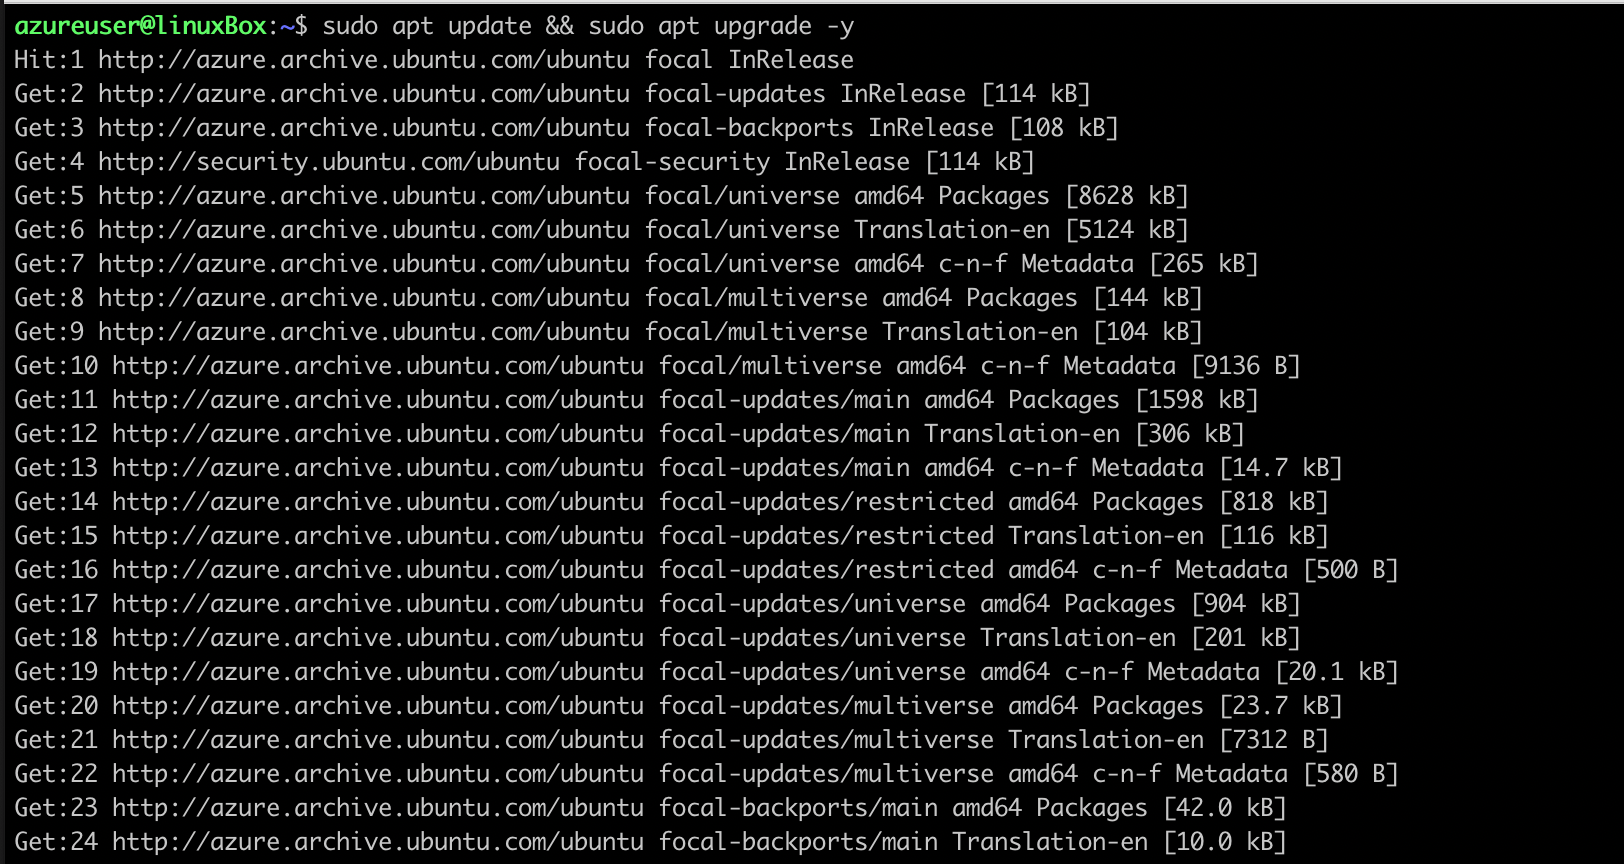
Configure VM
Update VM
sudo apt update && sudo apt upgrade -y
Install Necessary Packages
$ sudo apt install python3-pip python3-dev nginx -y
 This will install nginx, pip, virtualenv with all other libraries needed to build the web app.
$ sudo apt install python3-virtualenv -y
 This will install the python virtual environment.
Setting Up Django Project
Create django directory
$ mkdir django && cd django
Create a python virtual environment
$ virtualenv .
Activate the virtual environment
$ source bin/activateYou should have a directory structure like this

Install django and gunicorn
$ pip install django gunicorn
Start django Project
$ django-admin startproject djangoapp
Change directory into Project
$ cd djangoapp
You directory structure should look similar to this
~/django/djangoapp/: should contain djangoapp (project) and manage.py (dango project management script).
~/django/djangoapp/djangoapp: should contain __init__.py, asgi.py, settings.py, urls.py, wsgi.py.
Change directory into entry app
$ cd djangoapp
Adjusting the project settings
First change the ALLOWED_HOSTS section to allow the your Host and other hosts you want
$ vi settings.py

We will be using the sqlite db already provisioned with our app. So, we won't need to configure the DATABASE section
Lastly, create a STATIC_ROOT variable to store all static files from your projects and apps

Starting the project
Change to the directory where we have the manage script
$ cd ..
Migrate the changes to the database
$ python manage.py makemigrations
$ python manage.py migrate
Create a super user in the database
$ python manage.py createsuperuser
Collect all the static files in your project
$ python manage.py collectstatic
Start Project to run on port 8000 we opened in our VM creation tutorial
$ python manage.py runserver 0.0.0.0:8000
Open up a browser to check if django is up
http://vm-IP:8000/
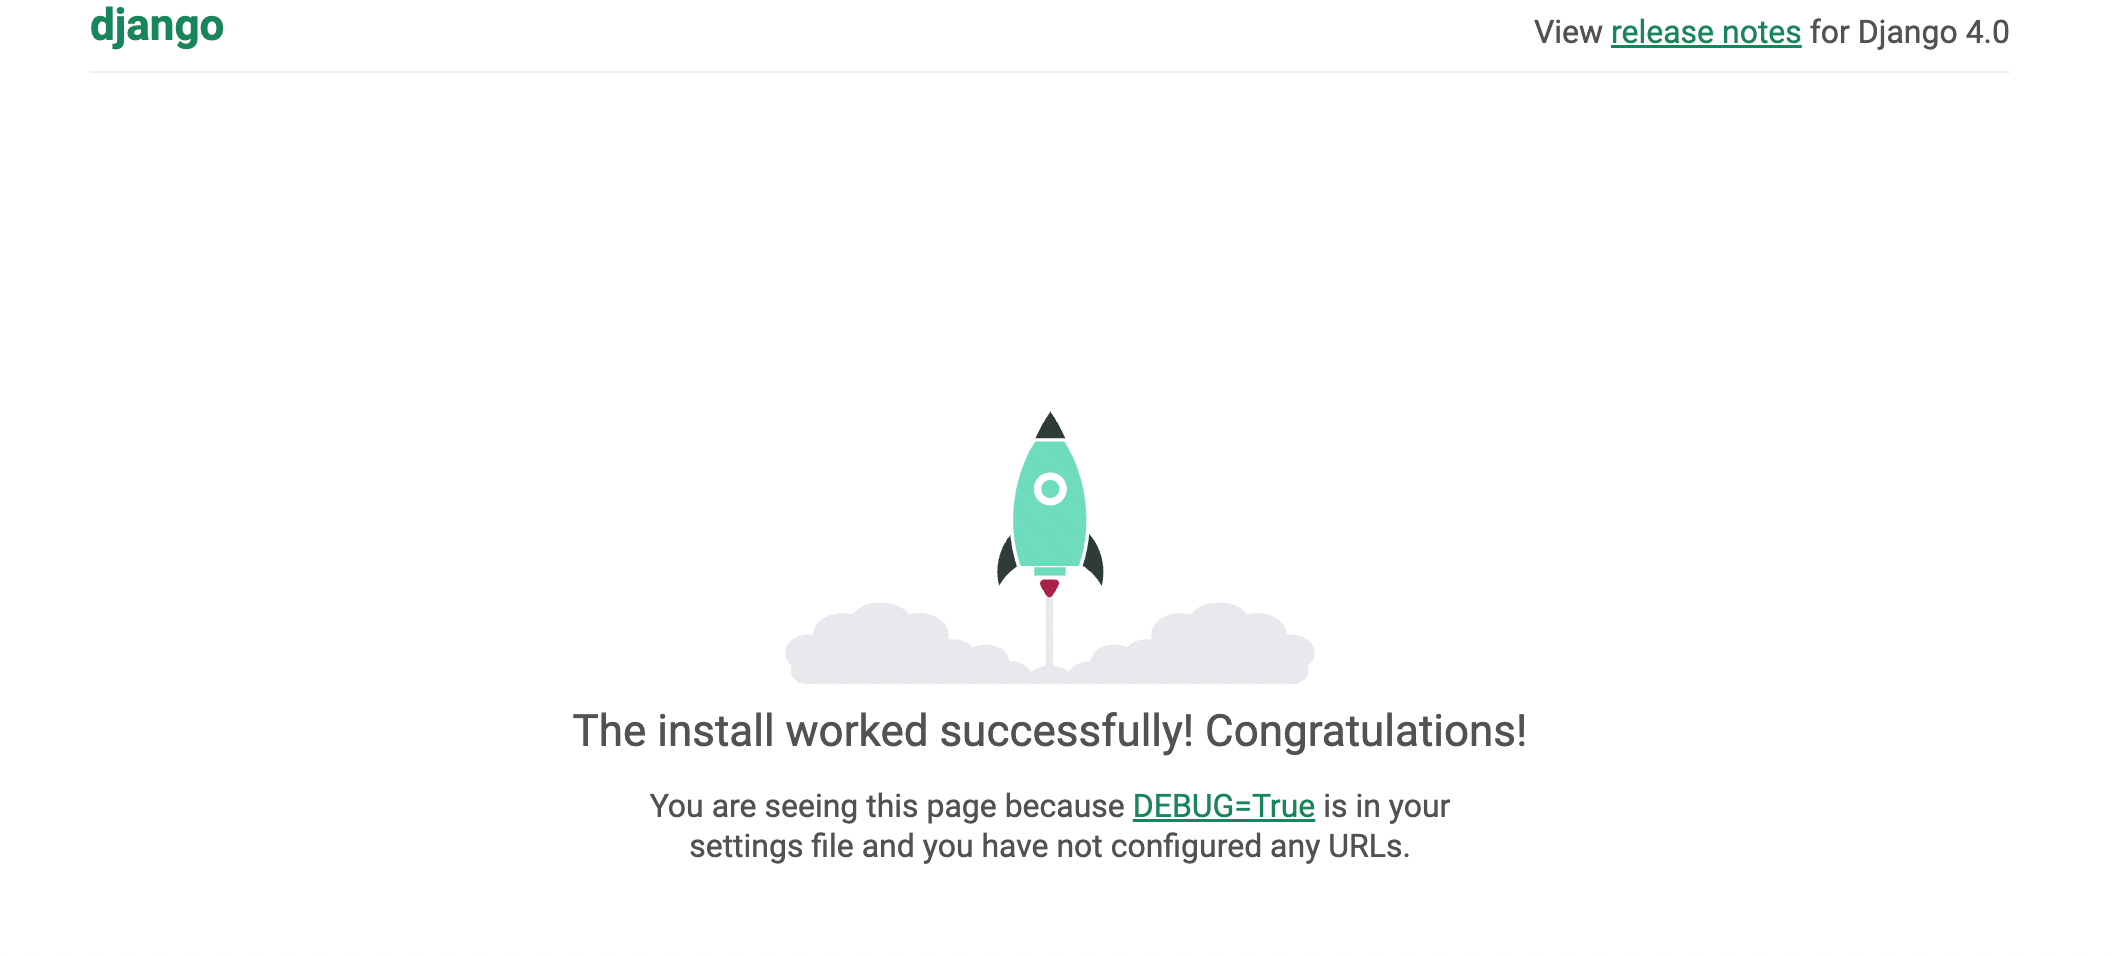
Congratulations, we now have the Django running
Configuring the VM to serve the Django app usign Gunicorn
First create a gunicorn socket file
$ sudo nano /etc/systemd/system/gunicorn.socket
Paste the following lines into the file
[Unit]
Description=gunicorn socket

[Socket]
ListenStream=/run/gunicorn.sock

[Install]
WantedBy=sockets.target
Next create a gunicorn service file
$ sudo nano /etc/systemd/system/gunicorn.service
Paste the following lines into the file
[Unit]
Description=gunicorn daemon
Requires=gunicorn.socket
After=network.target

[Service]
User=azureuser
Group=www-data
WorkingDirectory=/home/azureuser/django/djangoapp
ExecStart=/home/azureuser/django/bin/gunicorn \
--access-logfile - \
--workers 3 \
--bind unix:/run/gunicorn.sock \
djangoapp.wsgi:application

[Install]
WantedBy=multi-user.target
Start and enable gunicorn socket
$ sudo systemctl start gunicorn.socketBased on the
$ sudo systemctl enable gunicorn.socket
gunicorn.service file we created earlier. 3 gunicorn services will be started
Test the gunicorn socket activation
$ curl --unix-socket /run/gunicorn.sock localhostThe django index page should be returned if all is working perfectly.
Configure the VM to use Nginx to Proxy Pass to Gunicorn
First create a server block in the site-available directory of nginx
$ sudo nano /etc/nginx/sites-available/djangoapp
Paste the following lines into the file
server {
 listen 80;
 server_name vm-IP;

 location = /favicon.ico { access_log off; log_not_found off; }
 location /static/ {
    root /home/azureuser/django/djangoapp;
 }

 location / {
    include proxy_params;
    proxy_pass http://unix:/run/gunicorn.sock;
   }
 }
Next we enable the file by linking it to the sites-enabled directory of nginx
$ sudo ln -s /etc/nginx/sites-available/djangoapp /etc/nginx/sites-enabled
Restart Nginx
$ sudo systemctl restart nginx
Open up a browser to check if django is up. Without the port this time around
http://vm-IP
Next Steps
If you want to go on to the tutorial how to Containerize and Deploy Django Web App on Azure - Single Host.
Or this tutorial on how to Containerize and Deploy Django Web App on Azure - Multiple Host (Demonstrating scalability and High Availability).
Please follow the use the following commands to clean up the environment for the next tutorial.
Good thing is that, we will use the django project
Django app from this project to make our the other tutorial easy.
Stop gunicorn
$ sudo systemctl stop gunicorn.socket gunicorn.service
Disable gunicorn Socket
$ sudo systemctl disable gunicorn.socket
Uninstall nginx and it's config files
$ sudo apt purge nginx nginx-common -y
$ sudo apt autoremove -y
Reload system daemon
$ sudo systemctl daemon-reload
Install nginx
$ sudo apt install nginx -y
Your vm should now be serving the nginx index page on default
Conclusion
Special thanks to DigitalOcean community writers, as this blog of thiers helped in creating this tutorial. Also, big shout out
to MSFT Azure for giving out free credits to build on Azure.
As, I have mentioned earlier. Please click on this link for the tutorial on how to Containerize and Deploy Django Web App on Azure - Single Host.
Or this link for the tutorial on how to Containerize and Deploy Django Web App on Azure - Multiple Host (Demonstrating scalability and High Availability).