How to Create VM on Azure
The buzz word today are AI/ML,Cloud Computing, Crypto/BlockChain and Data Science. As an Engineer you need to be able to adapt to changes whenever they come around in the tech world. So today, we will be talking a little bit about Cloud Computing and we will be doing a simple task of deploying a virtual machine into one of the cloud providers environment- Azure to precise.
Cloud computing refers to the delivery of on-demand computing services including IT infrastructure, storage, network systems, and applications over the internet. Services are provided by a third-party vendor who handles the management and maintenance of the physical data centers where the cloud services live. As cloud technologies evolve and more companies move to cloud-based services, it’s important to understand the emerging trends surrounding the technology. Let’s look at some of the 2021 trends in cloud computing. -- Otava
This is a follow up to one of my previous tutorial, How to install Ubuntu. The difference, as you can tell is that we are installing/creating this VM on the cloud.
Without wasting time, lets get to it
Tools Needed
| # | Components | Link | Necessary |
|---|---|---|---|
| 1 | Azure Account | Free $200 Azure Credit on Sign Up. | Yes |
| 2 | Azure Cli | Cross-platform CLI to connect to Azure and execute administrative commands on Azure resources. | No. Task can be done on Azure Portal |
| 3 | Your Time | Roughly 20 mins | Yes. So you can learn to build web app. |
Once you are done creating your Azure Account and installing the Azure Cli, you are golden to follow through the tutorial.
Working on Azure with the Azure Cli
First, login in to Azure from your terminal using the azure cli. follow the prompt from the terminal to login
$ az login

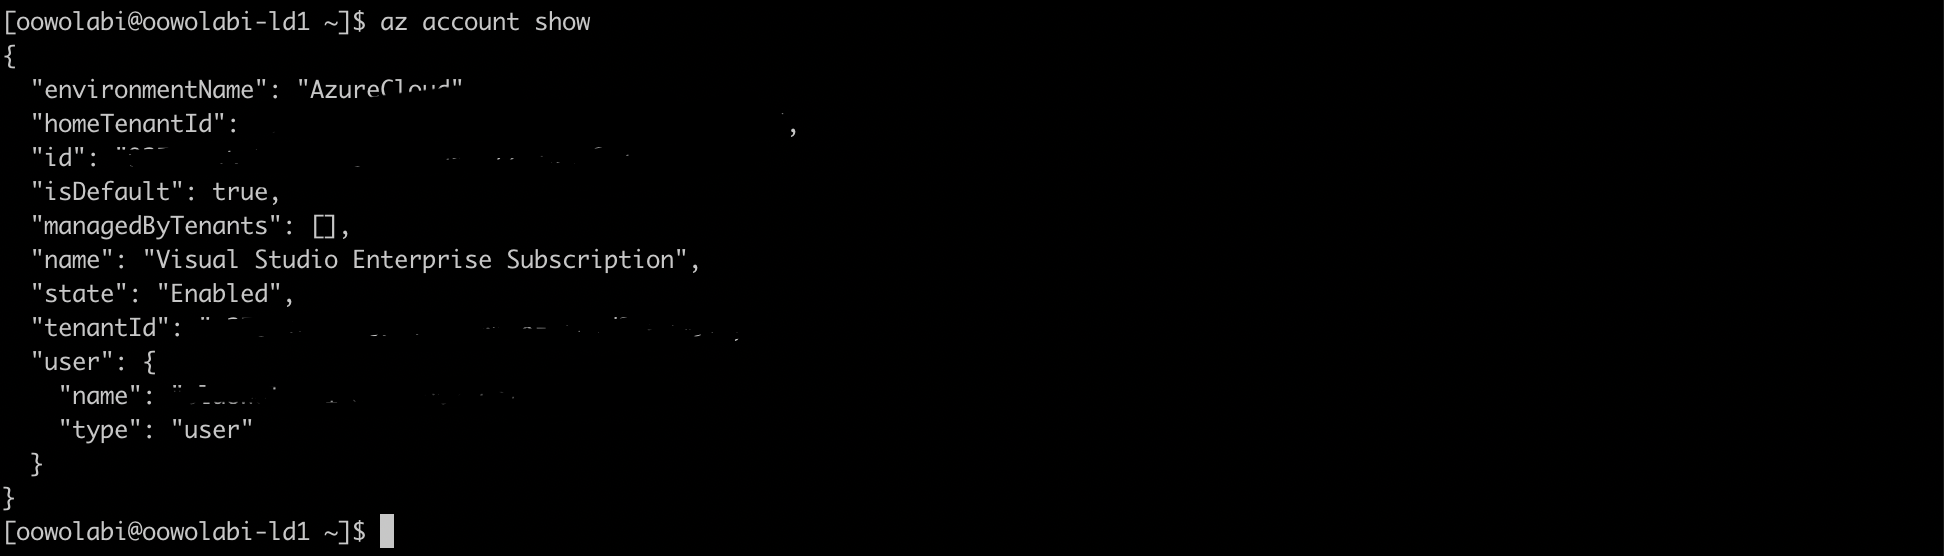
Confirm login
$ az account show
Creating VM on Azure
For this tutorial we, will be creating an Ubuntu 20.0 VM. However, if you want to use another image, please use az vm image list command to list all the available images.
Before creating a vm we need to create a resource group. A resource group is a container that holds related resources for an Azure solution, for more information about resource group visit this link.
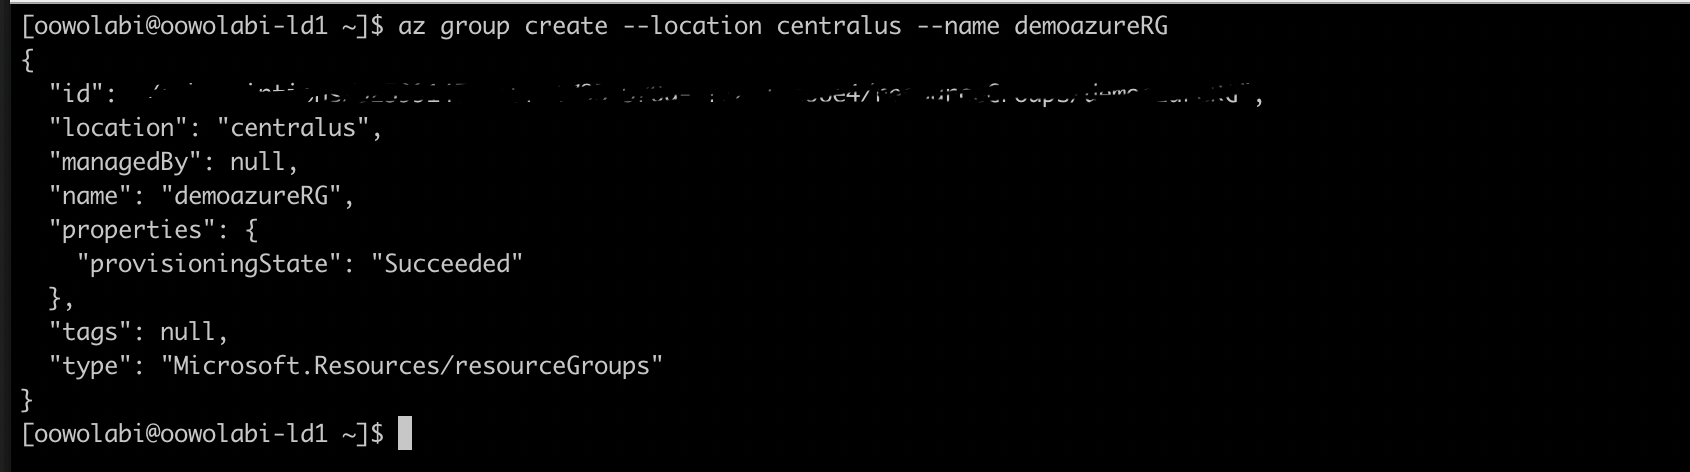
Create resource group
$ az group create --location centralus --name demoazureRGplease visit this link to view other locations.
Create VM
$ az vm create \PLEASE CHECK AZURE PORTAL TO COMPARE PRICES FOR DIFFERENT VM SIZES
--resource-group demoazureRG \
--name linuxBox \
--image Canonical:0001-com-ubuntu-server-focal:20_04-lts:latest \
--public-ip-sku Standard \
--size Standard_DS11_v2 \
--generate-ssh-keys \
--admin-username azureuser \
--admin-password complexPass123@ \
--authentication-type all
Notice I used the
authentication-type all, this is to allow ssh and username/password mode of auth.
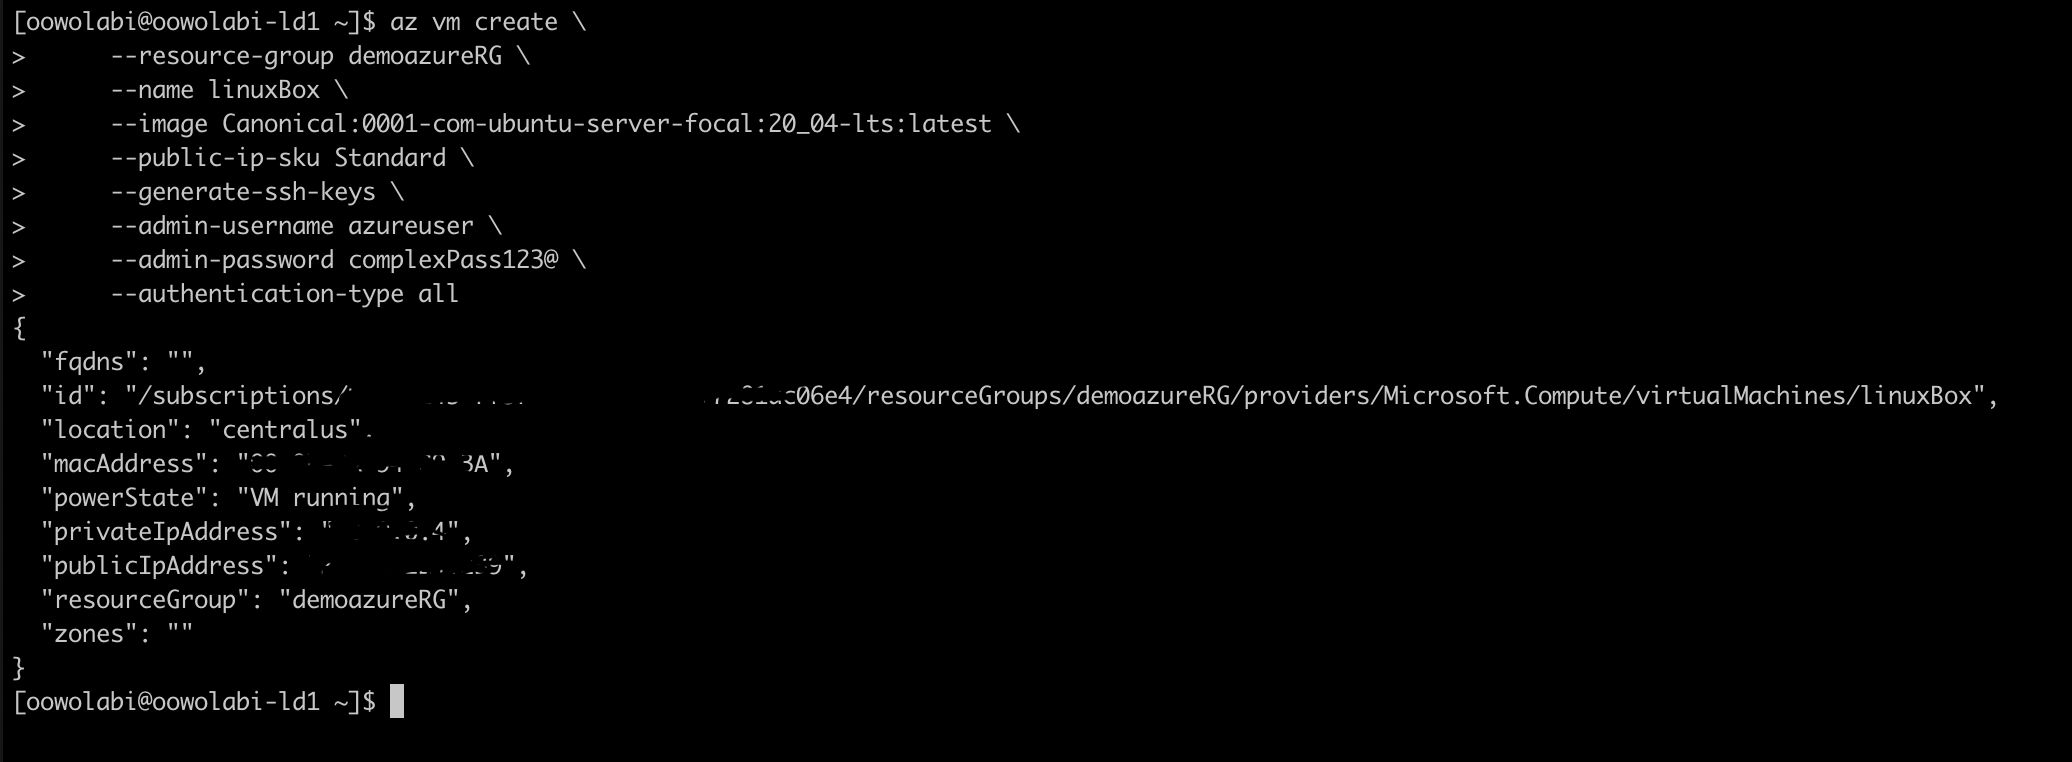
Once the vm is created, you get all the vm info in you terminal. If you run into any issues, use the vm --help command to debug.
Opening Ports
By default, Microsoft opens port 22 for ssh access -- which is for security purpose. However, for this tutorial we will need to open more ports.
$ az vm open-port --resource-group demoazureRG --name linuxBox --port \
  80,443
 This opens the http and https, which will suffice for this tutorial.
SSH into the VM
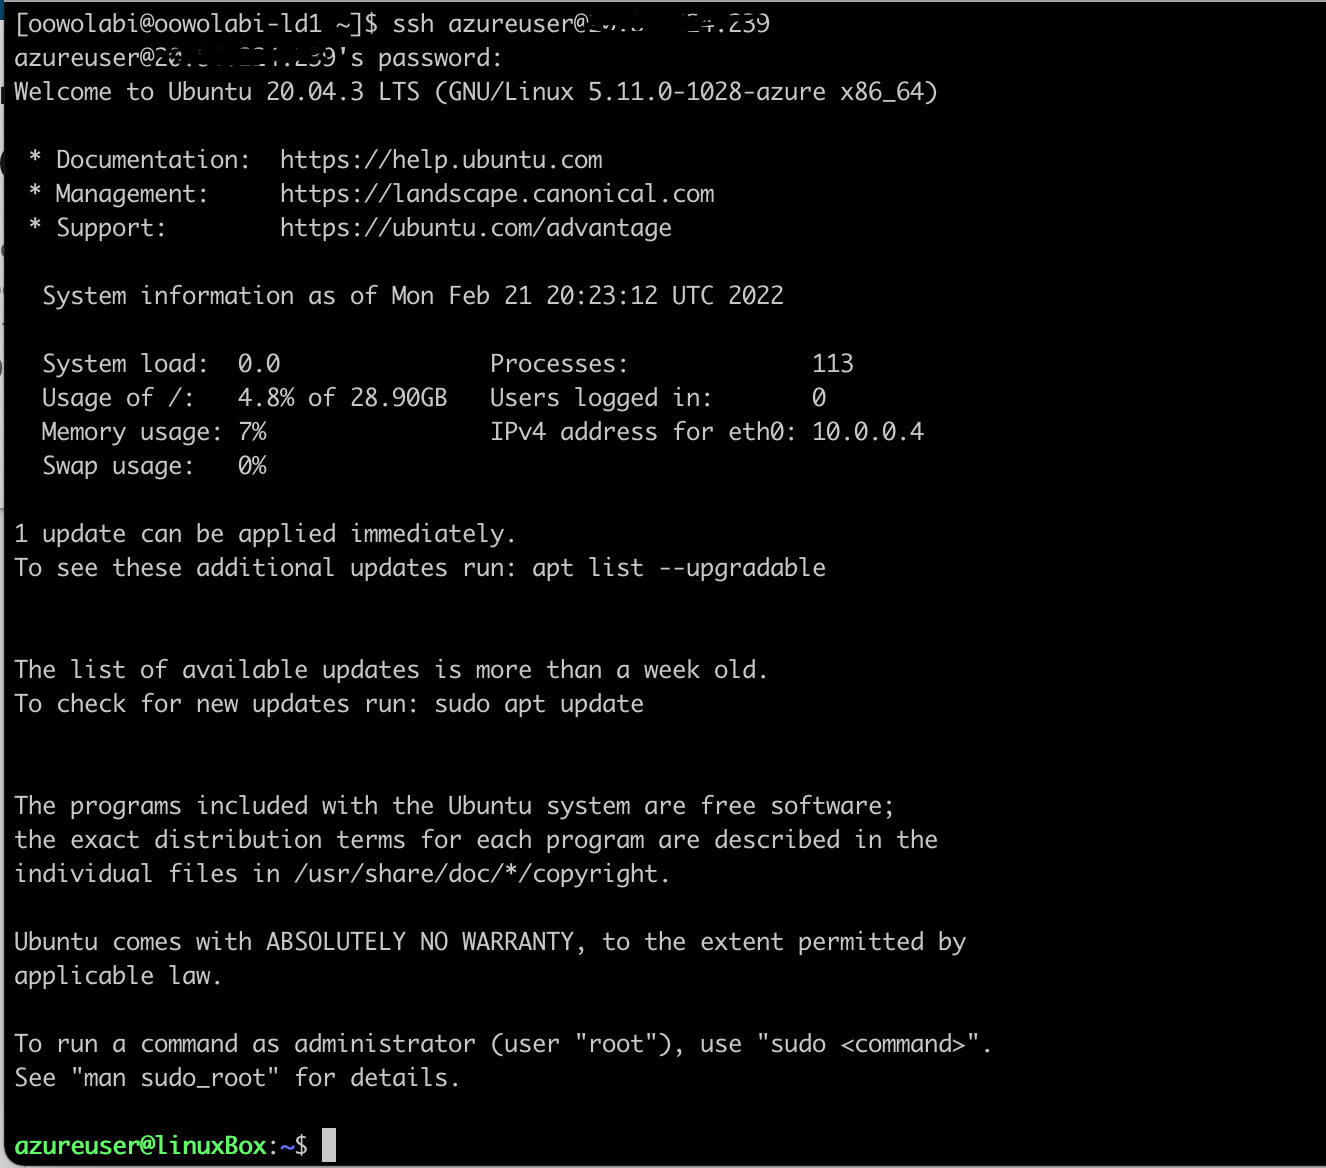
Now that we have provisioned and setup our vm. We need to ssh into the vm and test all is working well
SSH
$ ssh username@vmIPreplace
username and vmIP with your username and the vm's IP
Configure VM
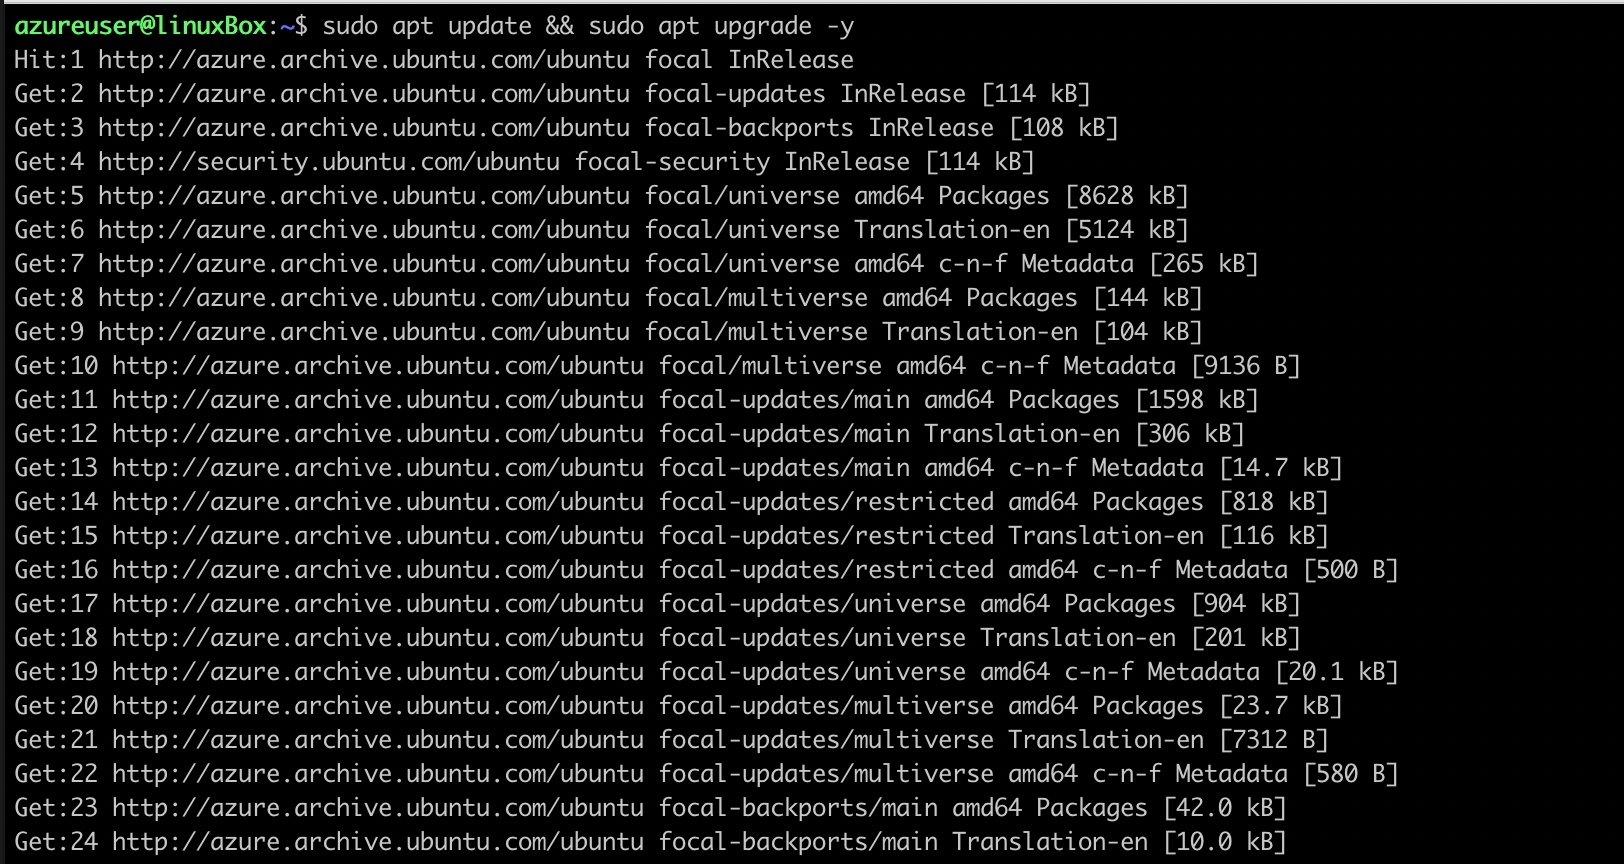
Update VM
$ sudo apt update && sudo apt upgrade -y
Install Nginx
$ sudo apt-get -y install nginx
Test that the VM is working perfectly by accessing the VM's Ip
$ curl vmIPReplace
vmIP the vm's IP You should see an html for the nginx index page.
Conclusion
In this tutorial, we have learned how to create and deploy a VM on azure. Please feel free to make the most of the credit azure offers and try building out things on the platform.